Spruce Tree Tops – How To
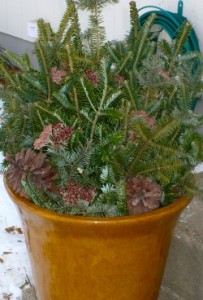
The tree tops I use are from white or black spruce tips, harvested in Northern Minnesota. The cutting of spruce tops is licensed by the state. It is actually a regenerative crop that can be harvested again and again. Grown in this manner, the tree tops will have the form and foliage of more mature trees, often bearing cones at a very small size.
Here are the steps along with images of the process I go through each year. This year I decided to have my outside pots be an extension of how I decorated the inside of my home for Christmas.
Step 1
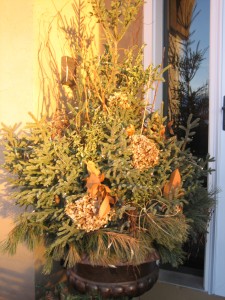
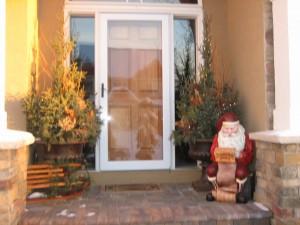
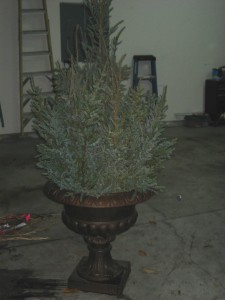
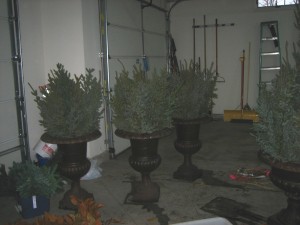
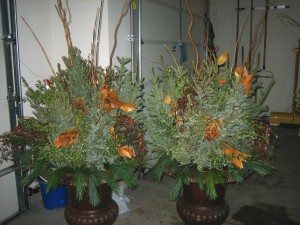
To help the tree tops look their best, place them in a tight grouping to give the appearance of a single pyramidal tree. A ten inch pot will need 5-6 tree tops; a 12 inch pot will need 6-7; and a 14″ pot wil be filled out with 7-9 tops. If you have larger pots, place several jumbo tops in the center of the pot to give height to the arrangement, then fill out to the edges with the regular spruce tops. I have two very large pots which I place on my front porch and then 3 smaller pots that I place outside my garage.
It is important to recut the base of the tree top before placing it in the soil. After making a fresh cut, push them 4-5 inches deep into a heavy, sandy soil.
Step 2
After you have arranged the tops the way you want them, water the soil thoroughly. Keep the soil moist until the ground freezes.
Step 3
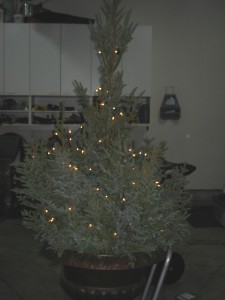
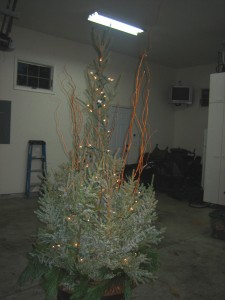
Add as many lights as you wish to give your tree toppers that special sparkel for the holiday season. I use the white lights on the green cord so they blend in with the tree tops.
Step 4
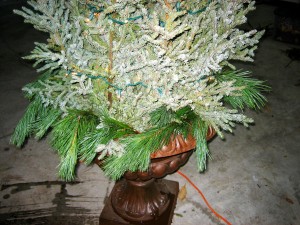
Add some white Christmas pines around the bottom of each pot so the pots look finished.
Step 5
Add whimsical and long twig sticks to the pot. I recycle mine every year given they are not cheap.
Step 6
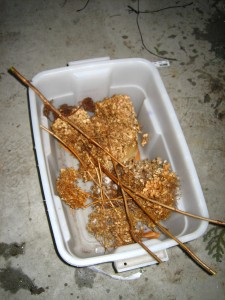
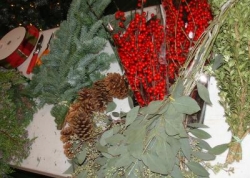
Start adding additional items to add interest to your pots. I cut down some of the Chinese snowball blooms that dried up once the weather started to turn cold. They work nicely and remain in tact all winter. I also added some oregonia, and other dried items from my garden so they are nice and full.
Step 7
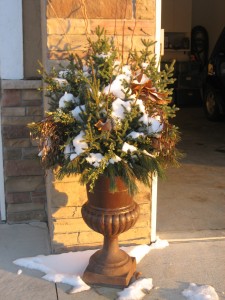
Add holiday ornaments or decorative artifical florals that go with the theme of what type of pot you are trying to achieve. And place the pots in place. My pots are put in place before Thanksgiving and add interest to the outside of our home until April when the warmer weather returns. When the snow flies it only adds to the beauty of the tree toppers. Have fun and use things that you already have around your home or in your garden.
